
How to Change Domain DNS Nameservers in GoDaddy
Changing your domain’s nameservers lets you point your domain to a new hosting provider or DNS manager. This quick guide walks you through the exact steps inside GoDaddy.
Step-by-Step Instructions
1. Sign in to GoDaddy
Go to GoDaddy.com and log in.
Navigate to My Products → Domains, then select the domain you want to modify. This opens your Domain Information screen.
2. Click the “DNS” Tab
Next to the Overview tab, click DNS to open your DNS management panel.

3. Open “Change Nameservers”
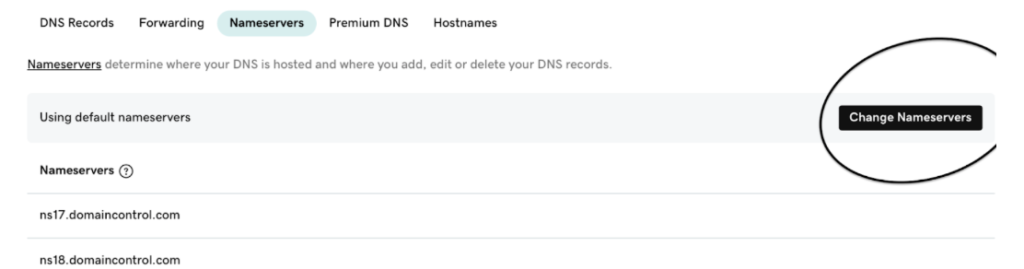
On the Manage DNS screen, scroll down until you see the Nameservers section.
Click Change Nameservers.
4. Choose “I’ll Use My Own Nameservers”
A dialog box will appear. Select I’ll use my own nameservers to manually enter your new DNS information.
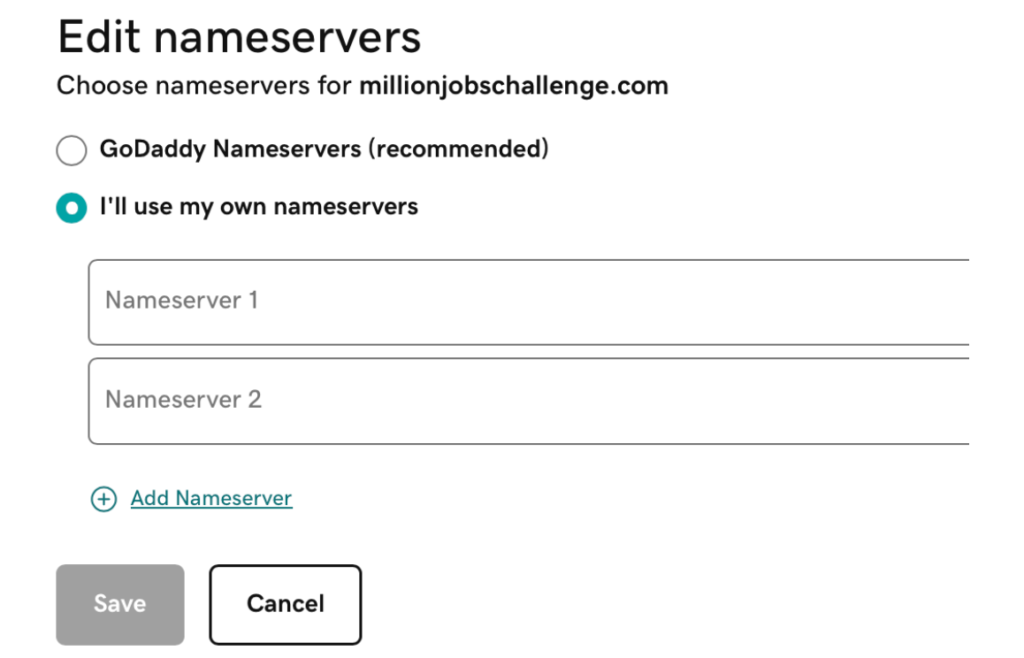
5. Enter Your Nameservers
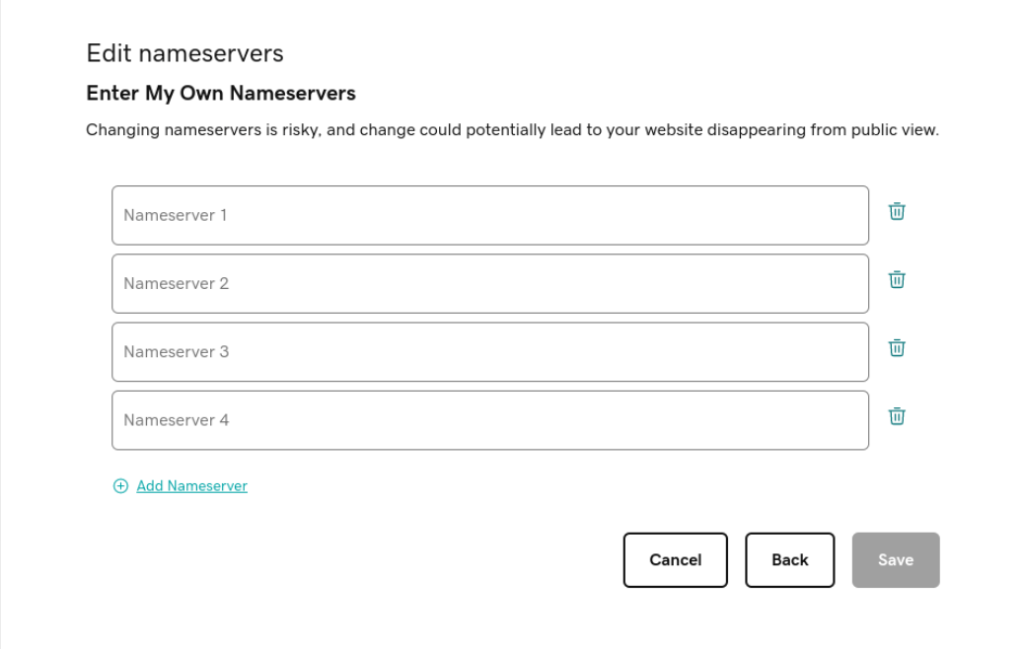
Input the nameservers provided by your hosting provider or DNS manager.
You may need to add two or more entries (for example, ns1.yourhost.com, ns2.yourhost.com, etc.).
6. Save Your Changes
Click Save.
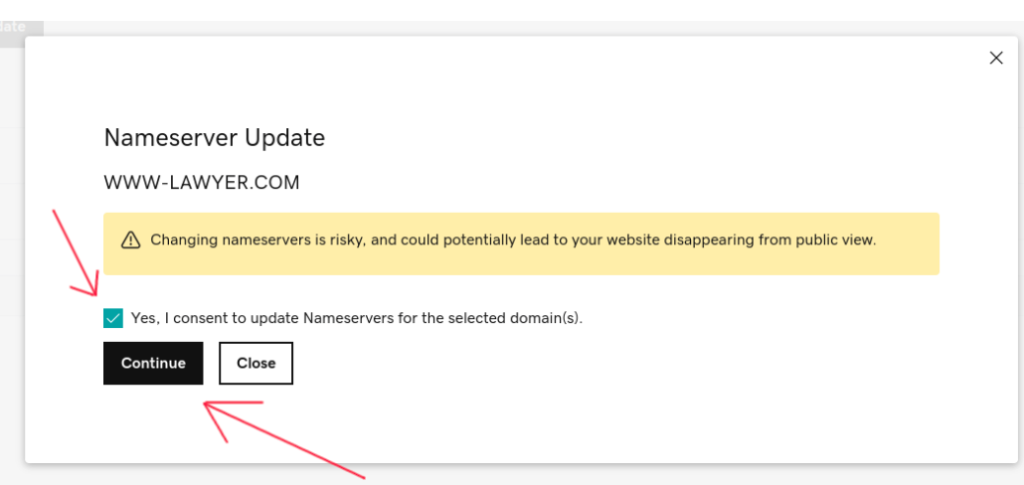
If GoDaddy asks for confirmation, check the acknowledgment box and click Continue to apply the update.
What Happens Next
After saving, your domain will begin DNS propagation, which can take up to 24 hours worldwide. During this time, your site might appear temporarily unavailable until the changes fully take effect.
Tip: Double-check your nameservers for accuracy; incorrect entries can cause your site or email to stop working.
Final Thoughts
Changing nameservers is a simple task once you’ve done it a few times, but it’s critical to get right.
If you’re not comfortable handling DNS settings or need help connecting your website correctly, don’t hesitate to reach out for support.
If you also manage domains through Namecheap, check out our companion guide: How to Change DNS Nameservers in Namecheap.