This Isn’t Magic: The Explainable Process Behind High Rise Academy
High Rise Academy’s message is straightforward: careers, skills, and opportunities aren’t mysterious or reserved for a select few. What looks impressive from the outside is usually the result of an explainable process.
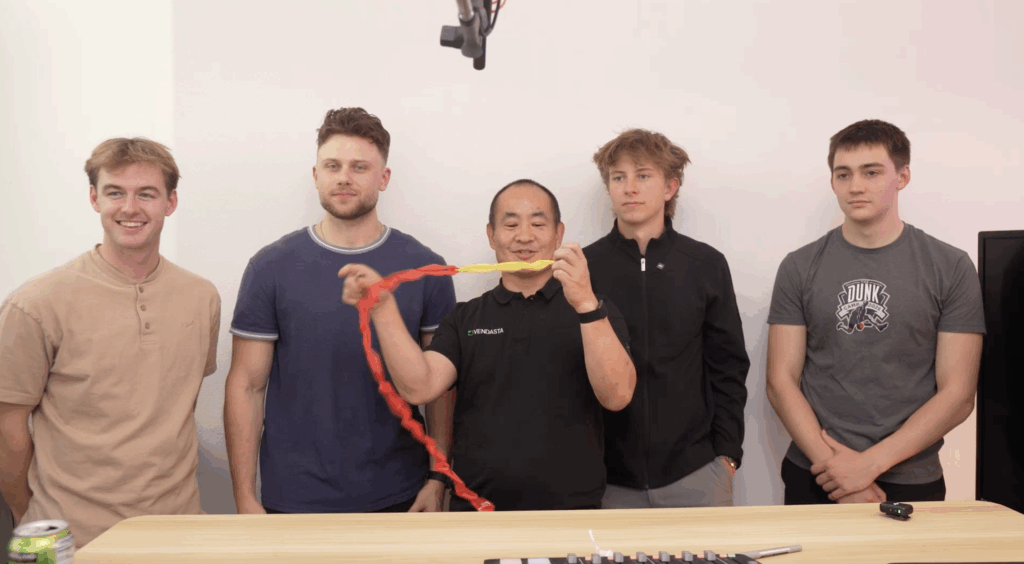
The video opens with a simple visual trick and a quick, funny competition. The High Rise Academy founders pull long ribbons of color out of their mouths, making it look like the ribbons are appearing from nowhere. It feels surprising at first, but the point lands quickly—there’s a method behind it. That same idea carries through everything that follows.
Careers aren’t magic — they’re built
Early in the video, one of the speakers makes the foundation clear: life is full of surprises, but building a career isn’t magic. It’s presented as something practical and learnable, not reserved for a select group of people. The point is emphasized plainly: the people speaking aren’t theorizing about careers — they’re building them in real time and learning alongside others who are doing the same.
The program is framed as an opportunity for young entrepreneurs to launch a career and learn skills they’re unlikely to pick up in school or through everyday life alone. The emphasis is on exposure, practice, and building momentum through action.
Learning compounds when you’re doing real work
Luke Crowson expands on this by talking about how learning actually works in practice, including the line: “the more you learn, the more you learn that there’s more to learn.” People often join programs expecting one specific outcome. What they discover instead is that knowledge compounds.
You learn something new, then realize there’s more depth than you expected. That curiosity leads to more learning, which leads to improvement. The excitement comes from realizing you can keep getting better.
This distinction matters because it changes how people approach learning. The value isn’t just in what you learn first — it’s in becoming someone who learns faster over time.
Adaptability is what keeps you moving forward
When Dennis Yu spoke, he leaned into adaptability. As he pulls more ribbons out—colors changing as they come—he uses that visual to describe unpredictability: “sometimes it’s red or yellow or blue or whatever it might be, you just gotta adapt”. Sometimes things come out one way, sometimes another. The details change, but the requirement stays the same: you adapt.
The message is simple and practical. You don’t need certainty about what’s coming next. You need to be willing to learn, adjust, and keep going. That willingness is what prevents people from stalling when conditions shift.
“This isn’t magic” means there’s a technique
When Jack Wendt brings the metaphor back to the ribbon trick, the point becomes practical. If something feels too good to be true, it usually means you’re missing the method behind it.
High Rise Academy is built around the idea that techniques can be taught and systems can be followed. Rather than improvising, apprentices learn structured processes that have already been proven in real-world marketing.
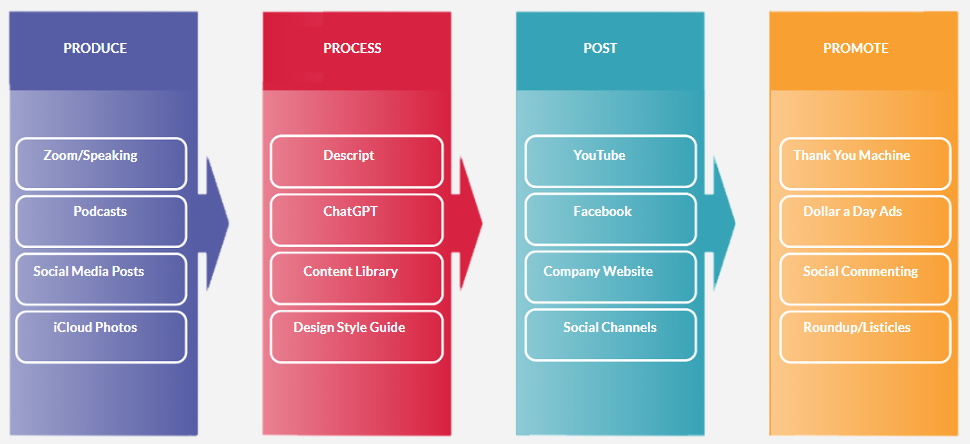
One example is the Content Factory approach: creating consistent, repeatable content from real work instead of chasing one-off posts or trends. Another is Metrics–Analysis–Action (MAA), a discipline that forces teams to look at what actually happened, analyze why it happened, and decide the next action based on data—not opinions.
Apprentices are also introduced to documented workflows for local service marketing, where the focus is steady execution over time instead of sporadic campaigns. These processes turn effort into momentum.
Execution is the dividing line. To someone watching from the outside, the results may seem unrealistic. To someone who understands and follows the steps, they become achievable.
The part people don’t see is where the value is created
Dylan Haugen addresses the gap between perception and reality. Viewers may have seen the team doing “cool stuff” — traveling, working from interesting places, sharing highlights online.
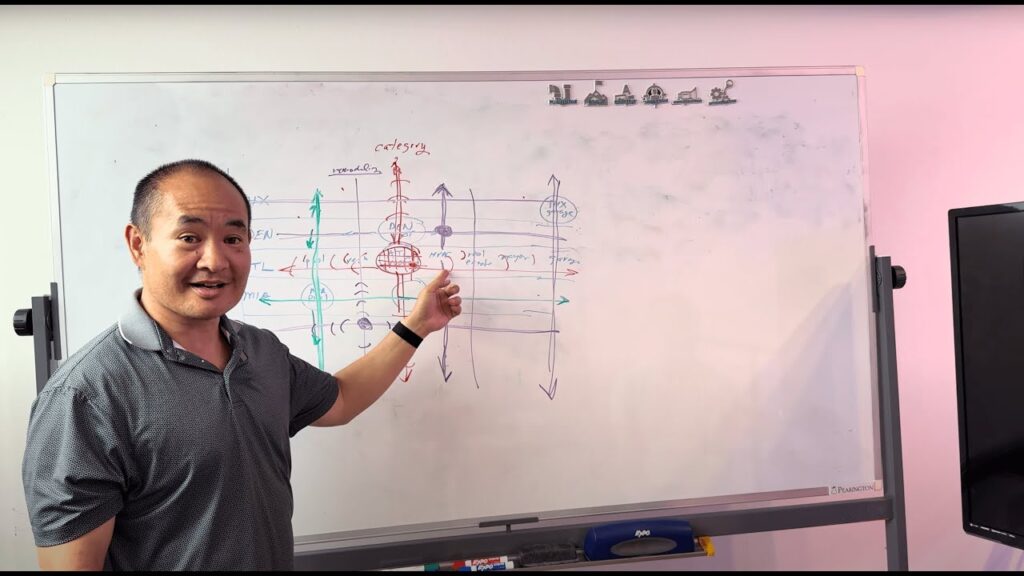
What matters more, he explains, is what happens behind the scenes. The systems that Dennis Yu has built over more than 30 years. The daily work of implementing those systems. The constant learning and the responsibility of providing real value.
That back-end work is where the team finds the most meaning, because it’s where growth actually happens.
What ties all of this together
Each speaker reinforces the same core idea from a different angle:
- Careers aren’t built through magic — they’re built through action.
- Learning keeps giving when you apply it.
- Adaptability matters more than certainty.
- Systems turn effort into results.
The ribbon trick at the beginning isn’t there to impress. It’s there to make one thing clear: once you understand the method, what felt impossible becomes practical.
Where this leads
The point of the ribbon trick is the same point of the program: results look mysterious until you understand the method. Once you see the technique, the outcome stops feeling random.
High Rise Academy is built around that mindset—learn a repeatable process, practice it through real execution, and keep improving as conditions change.
For a young adult, that means building confidence and practical skill by doing the work, not just studying it.
For a local service business, that means developing a capable operator—often someone already close to the business—who learns the systems and applies them through digital marketing to improve lead flow and bring in more calls over time.
High Rise Academy is a place to learn, apply, and grow alongside real people who are implementing the process every day.
Interested in the AI Apprentice Program? Learn more about High Rise Academy — hands-on AI marketing training with real clients and real results.